|
||

|
|
Crankcase Pulley Removal and ReinstallationGetting the crankshaft pulley off is fairly difficult. It is easiest if you have the engine out of the car. Even then, you have to lock the flywheel in place to prevent it from turning. See our flywheel removal procedure to see how to do that. If you need to remove the crankshaft pulley with the engine in the car, you still need to hold the crankshaft firmly in place (prevent it from turning) so that you can apply torque to the pulley nut. The book says to do that by placing the transmission in 4th gear and setting the parking brake (I've never done that -- I'm skeptical.) With the crankshaft held firmly stationary, you can remove the bolt and washer from the center of the crankcase pulley. With the bolt and washer off, you still have to use a puller to remove the pulley from the crankshaft.
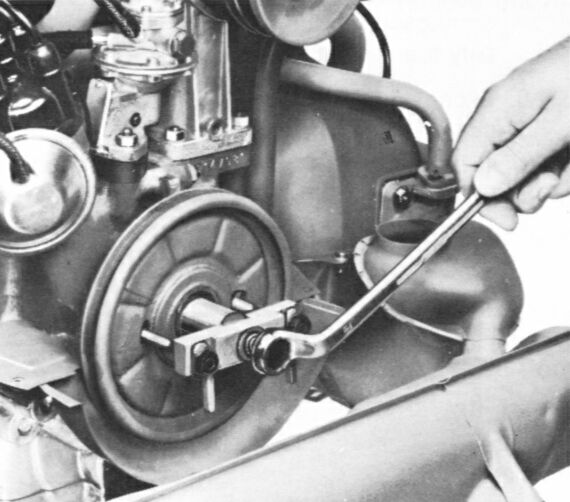
Removing the Crankcase Pulley with a Puller
Don't try to pry the pulley off -- you can easily damage the crankcase by doing so. Replace the pulley if it is bent or cracked.
Crankcase Pulley Replacement-
Note: You must install the breast plate before you install the crank pulley. If you install the crank pulley first, the two bolts that secure the breast plate to the engine block will not be accessible.
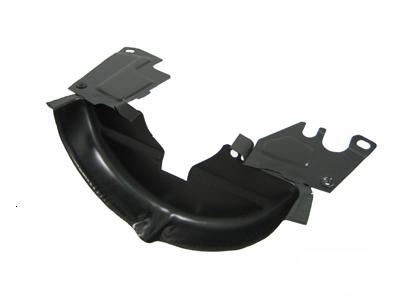
Engine Breast Plate
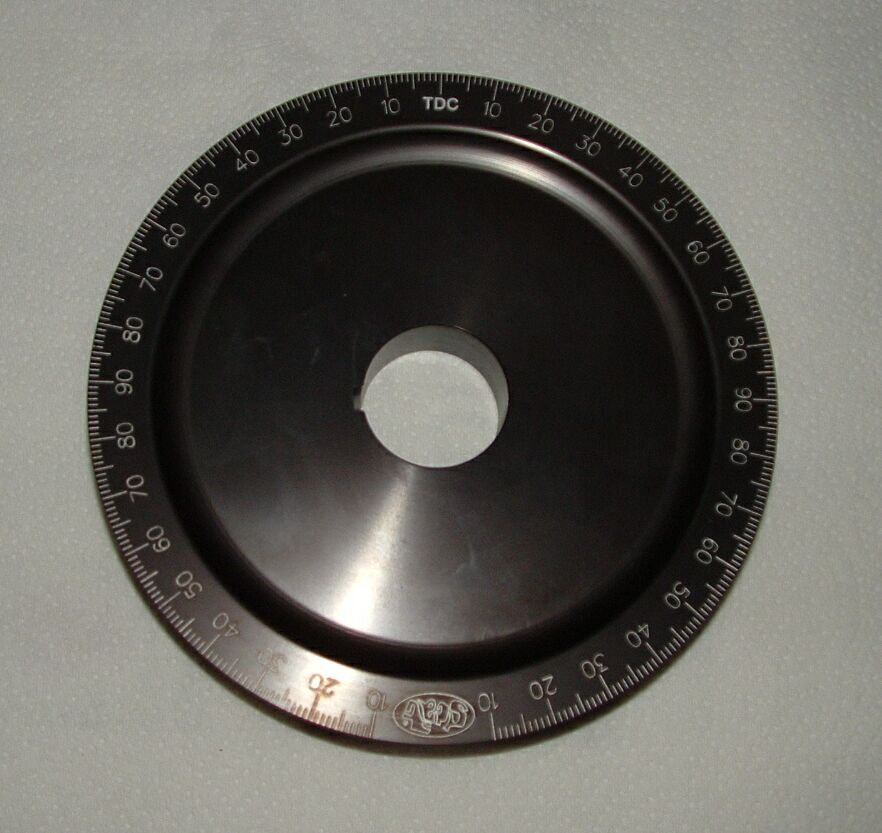
Crankshaft Pulley
Note: Again, you must hold the crankshaft firmly in place (and prevent the engine from turning over) to apply torque to the crankcase pulley bolt. Do this by placing a 1-7/16" socket on the flywheel nut, with a 4-foot "cheater" (just an ordinary pipe) against the floor so the crankshaft will not move. Note: It doesn't matter where on the pulley the keyway is. When you turn it so that the keyway is at 9 o'clock, piston #1 should be at TDC, and the TDC mark on the pulley should line up with the crankcase split.
Note: If you find it necessary to tap the pulley to slide it onto the crankshaft, gently tap the center hub only with a rubber hammer or block of wood. Never strike the outer rim of the pulley.
|
||
|
|