| |
Since
then Sharon and I have owned a 1971 Squareback (Type 4) and a 1977
Bus (Type 2), but my first love will always be the aircooled
Beetle.
In June 1997 I returned to "Beetle mania" when my son purchased
a beautiful little black 1973 Super Beetle (with many, many
problems - far more than we realized when he bought it!). My son and I
just got started with some the more urgent repairs when in
July 1997 I had to take a little time off to have heart surgery
(six coronary artery by-passes!). But I was back working on
the Bug in August!
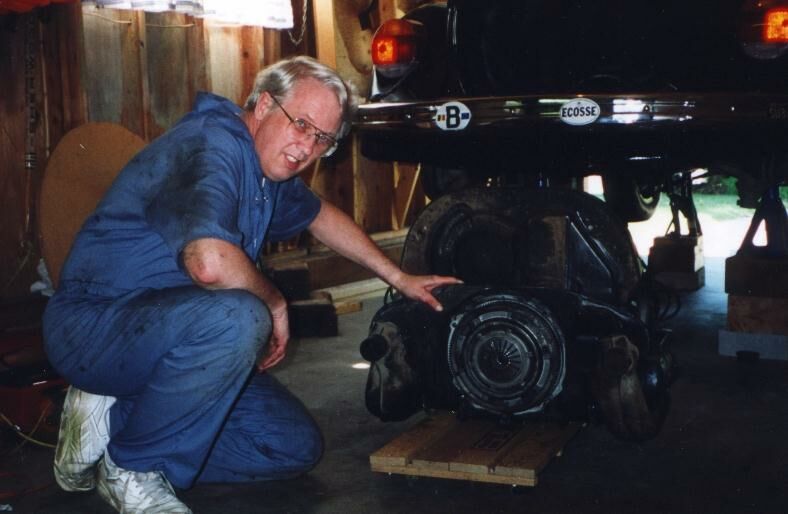
Dave During His First Engine Removal Experience
~~~
What started out as just "tinkering" ended as a complete
rebuild of the car while my son was away for a couple of years. (A "rebuild," not an actual "restoration," as we weren't totally religious in assuring everything was "stock"). Many of the Procedures and a whole lot of the discussion included in these pages are a result of our experiences with the rebuild of this Super Beetle.
We have proven the truth of Pogo's observation: "We has found the enemy, and they is US!" I've certainly learned a lot through the many mistakes I have made! I'm definitely a graduate of the "School of Hard Knocks!"
Right from the get-go the car was plagued with a severe and
very frustrating "stumbling-on-acceleration" problem, which
we found was due to a whole host of different things (a problem
seldom has one cause). These included Water
in the Gas, Clogged Fuel Filter,
incorrect Tuning, incorrect Jets
in the carburetor, incorrect Accelerator Pump setting, and most
of all, a severe Vacuum Leak around the carburetor throttle
shaft. A new rebuilt German 34 PICT/3 Carburetor (427-1 flange) and a matching SVDA Distributor, proper adjustment of
the Accelerator Pump, and installation
of a new Fuel Filter finally solved the stumbling-on-acceleration
problem. (It still rears its ugly head now and then, but it can usually be attributed to one of the foregoing.)
The next problem was the Transmission. On
the recommendation of Jon Chabot at TopLine Parts, we
shipped the transmission off to Der Transaxle in Anaheim, California
to be rebuilt. We must give credit to our good friend Rachel Morgan
at Western
Sintering, who packaged and shipped the transmission for us.
Amazingly, it was my wife who suggested that we get the car
painted! This suggestion launched a job that I hope to never repeat!
I took the car all apart and stripped it right down to the bare
metal, finding that it had been painted several times before, right
over the previous coats. This horrendous process is detailed in our
article on Surface
Prep and Paint. The paint shop finished up the surface prep when
I'd had enough, then primed and painted it with several coats of a
BMW "Cosmos Black Metallic" paint. I reassembled the car the car
myself in a friend's garage -- a much bigger job than I thought it
would be! That process, too, is documented on these pages.
Not long after getting the car out of the paint shop another
major problem surfaced. The clutch began slipping, and I found that
the car was leaking oil severely. Two-and-two put together said Main Oil Seal,
failure of which would soak the clutch disk and cause it to slip.
Sure enough, when we got the engine out we found the clutch disk
soaked with oil and the main seal in shreds. We did a poor-man's End-Play Check and found it to be an eighth of an inch -- far more than the spec
0.006"! To us that (plus the tell-take circular wear mark in the
engine case) said "spun bearing!"
So after stripping off all of the "ancillary components,"
we sent the engine off to the shop to have the bearings replaced.
While it was there our mechanic found the engine case to be
so badly damaged that it needed to be replaced as well. Sigh
... He replaced the crankshaft at the same time; fortunately
the cylinders, pistons, rings, valves and heads were still
in good shape (at least, so we thought at the time).
When I got the engine back in the car I had another learning
experience when we tore into the brakes. We replaced all four of the
drums and the brake shoes, but we still had a problem with
over-pressurization of the system as it warmed up. So we removed the
master cylinder and did a proper bench bleed, releasing a LOT of
entrapped air. This experience resulted in another procedure that
you will find under the general heading of The VW Braking
System, specifically Bench Bleeding the
Master Cylinder.
The problem with Pressurization of the Braking System persisted
-- later we learned that that problem was caused by our messing
with the length of the master cylinder pushrod (see the above
Article for details). A hard and expensive
lesson. Installation of Disc Brakes on the front made the brakes
rock solid. (Installation of disc brakes on the fun was a very
easy and enjoyable job.)
Since the purchase of this car in 1997, I have replaced, rebuilt, or refurbished virtually every
component between the front and rear license plates. Significant
recent improvements since the rebuild was declared "complete"
include the installation of Compu-Fire Electronic Ignition, (to go with the Capacitive
Discharge Ignition (CDI) System that I installed previously), a new
"Mexican-style" Thermostat, a Gene Berg Shifter, Disc Brakes on the front, a Pierburg 34PICT/3
carburetor purchased from Aircooled.Net (later replaced with a rebuilt German 427-1 model purchased from Keith Doncaster (keifernet@hotmail.com),
new Ignition and Turn Signal Switches,
and new insulated Corrugated Heat Ducts, and a new Scat steering
wheel.
Well, we thought we were done, but we weren't - not by a long
shot! In April 2007 the engine completely seized up while
I was doing an advance timing test. Once atain my wife flabergasted
me when she suggested that I just get a new engine! I purchased a new 1600cc
dual-port longblock from Aircooled.Net. Then I had the "fun" of "building up"
the longblock, which means installing all
of "ancillary components" and loading it into the car. In the
process I also replaced the crankcase pulley, the fuel pump,
most of the engine tin, the intake manifold, the oil cooler,
the starter (and "D-bolt" - quite a story there!), the
muffler header and muffler, and the battery! It's virtually
a new engine, and this car has never run so well. (But only after I replaced the fuel filter. A clogged filter, I discovered, will cause a stumbling problem that is difficult to diagnose if the fuel filter is neglected. See our Fuel Filter procedure.)
In my obsessive way I documented the entire process and prepared a comprehensive Longblock Buildup Procedure - which is very long and includes 30 sub-procedures, which are all included in the Index. The car ran beautifully with the new engine, but my euphoria was short-lived. After having a great time building up the new longblock, I took the car out on the road for a test drive, on a very hot day (95F). I drove down into Oregon (I live in SE Washington) through Pendleton and then up into the Blue Mountains by way of "Cabbage Hill," which gains about 3000 ft in six miles. When I stopped at a rest stop at the top the engine was so hot I couldn't touch the dipstick.
The car ran like crap all the way back home. Despite everything I could do it got much, much worse - backfiring and belching black smoke, finally wouldn't run at all. So I bit the bullet and took it to our one-and-only aircooled VW shop in Kennewick. I was informed, to dismay, that I had completely fried my engine.
The problem was with the thermostat, but it wasn't the thermostat's fault. The longblock didn't come with the stud that the thermostat bracket attaches to, and the longblock wasn't even threaded for one. My tap and die skills are very poor, and I did a lousy job. As a result, the stud came loose and the thermostat pushed down instead of up, locking the cooling vanes closed. Of course I was totally unaware of the situation, reveling in the fact that the Bug crested the top of the hill in 4th gear at 55 mph.
The mechanics at the shop completely rebuilt the engine (only the case was salvagable). In the process the engine was upgraded to 1641cc, with new pistons and cylinders, dual-port heads, camshaft, bearings, the whole nine yards.
The easiest way to tell whether or not you have this overheating problem is to get yourself a candy thermometer (up to 400F) with a 6-inch long probe. Then remove the dipstick and push the thermometer down into the hole. If your oil temperature is above 230F, you're in trouble. If the oil is hot, your next chore will be to figure out why. For starters, check out our Overheating article.
Bottom line of this little debacle - with a new rebuilt German 427-1 carburetor, new drive belt, new chrome GT Sports muffler, and new tires and we were back on the road. This has sure been an expensive hobby!
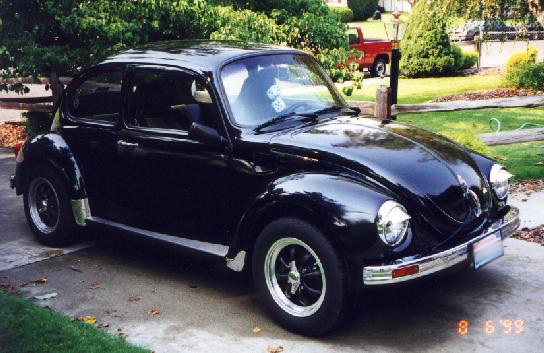
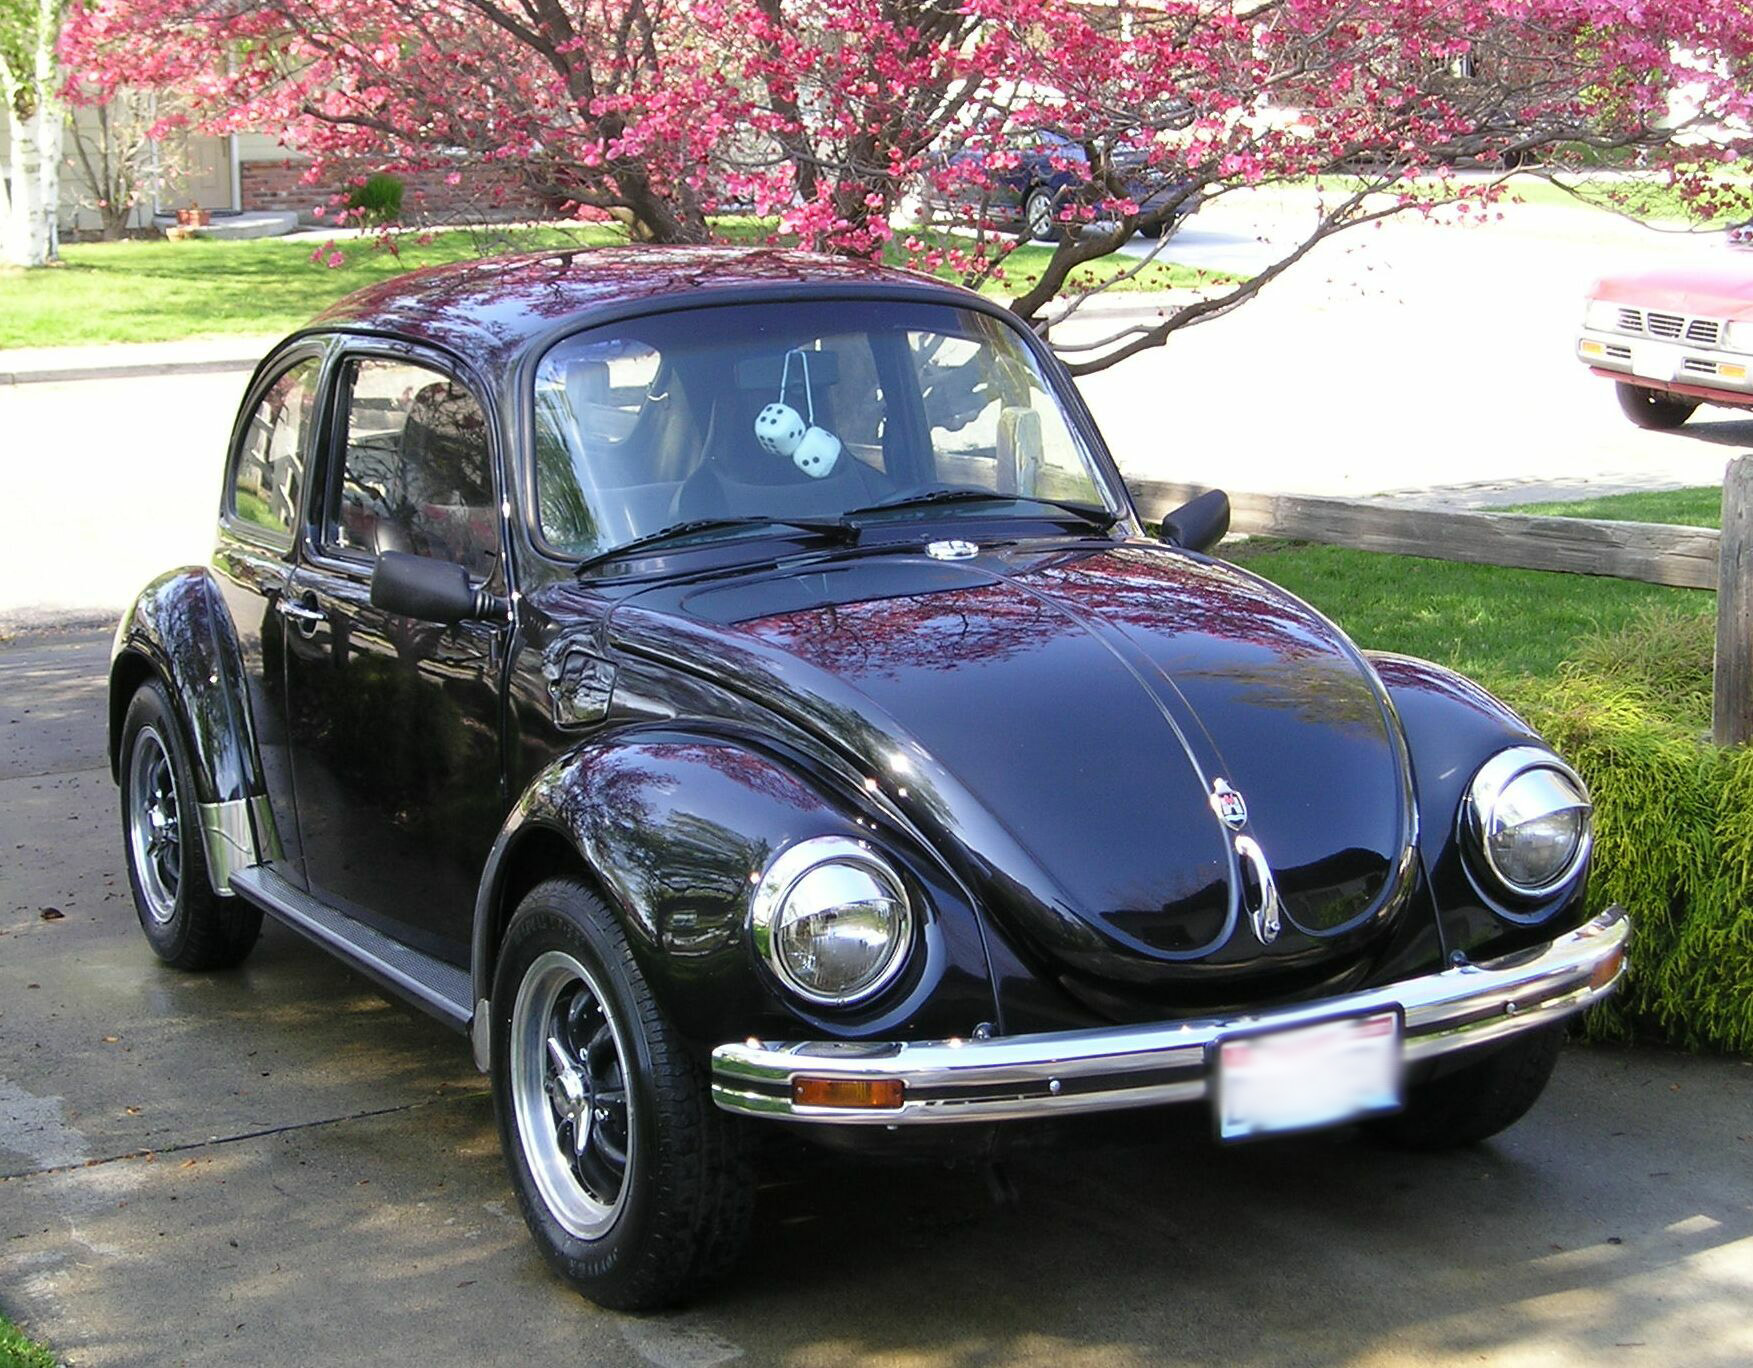
Below are pictures of the car both before and after the rebuild
process. A twelve-year process - my son purchased this car in 1997, and it's been a "thorn" in my side ever since! (A love/hate relationship!) For a description of the work we did, please take a look at 1973 SB Rebuild Process. Click here for Pictures that document my experiences rebuilding this Super Beetle. (I'll be adding more pictures as time permits.) The car doesn't LOOK much different, but believe me, bumper-to-bumper it's almost a completely different machine!
I'm now using the car as a daily driver, and it's an absolute
joy to drive -- and with the new engine it's just like new!
I love the Gene Berg shifter, the Scat steering wheel, and the "mellow" GT Sports muffler. The brakes are absolutely solid now, with the new disc
brakes on the front. Little problems (like a clogged fuel filter, turn signal cancellation, etc.) continue to crop up, just to keep me on my toes, but all in all we essentially have a new 1973 Super Beetle!
~~~
|